Case Wall Uniformity Matters in a “Tight Chamber”
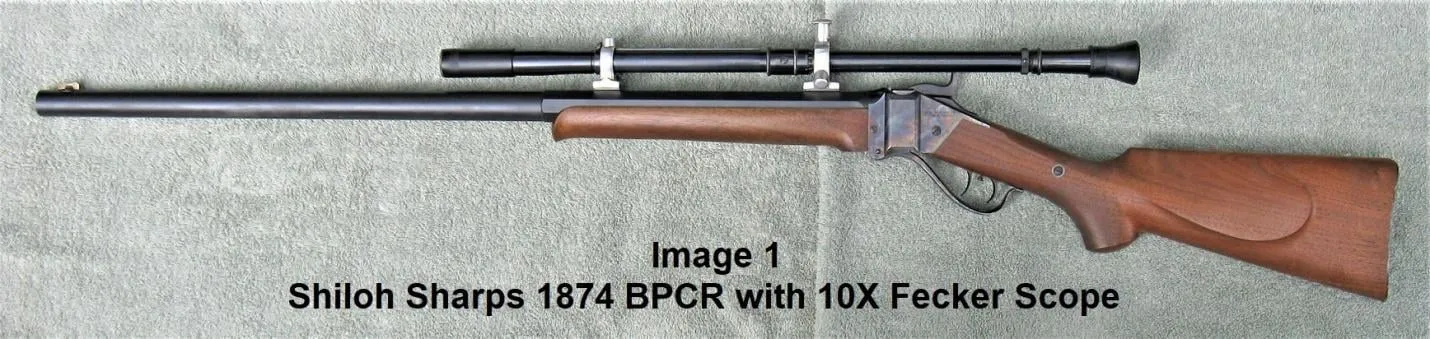
Many of you have read my black powder cartridge rifle (BPCR) articles, mostly relating to the Browning 1885 BPCR rifles. But I also own a very nice Shiloh Sharps 1874 BPCR in caliber .40-65 (Image 1). I won a certificate for the rifle at the 2018 Texas State match and used the rifle in the same match in 2019 to win the scope category. There’s no question that it’s a very high-quality firearm and I enjoy shooting it at matches along with my Browning’s. It’s highly accurate with the right loads as can be said for most custom rifles.
After shooting the Sharps in several matches I’d been experiencing progressively harder chambering with some cartridges. The rifle has what I consider a “tight chamber”, meaning that a bullet of 0.001 to 0.002” over groove diameter just barely slides into a fireformed unmodified case neck. To be more specific, the chamber mouth diameter of the Sharps .40-65 is 0.4325. Since the case shrinks about 0.001” in diameter after firing and the Remington case walls at the mouth are 0.011” thick (0.022” inclusive), the result is a case mouth outside diameter (OD) of 0.4315. Subtracting 0.022” from 0.4315” results in 0.4095”. Therefore a 0.4090” to 0.4095” diameter bullet can be thumb seated without resizing or enlarging the case mouth. A properly dimensioned tight chamber is good, accuracy wise, assuming the brass is uniform. By the way, I’m using the term mouth because the chamber in my rifle does not have a well-defined cylindrical neck. Starting in front of the rim seat the chamber diameter drops off (tapers) uniformly from 0.500” to 0.436” at about ½” from the chamber-to-throat transition step, at which point the diameter reduction continues but at a reduced rate, diminishing another 0.0035” over the last ½”. Incidentally, the Remington cases were reformed from .45-70 brass.
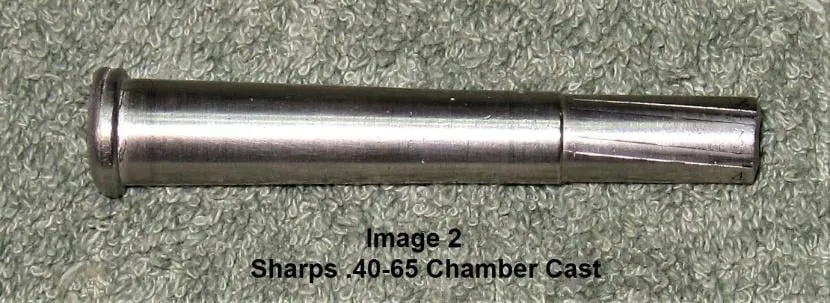
As to what was causing the hard chambering, I had no idea. Prior to loading the first case ever shot in the rifle the maximum case overall length (COAL) was determined, so I knew it was not the cause and neither was the bullet or seating depth. The same COAL and bullet have been used prior to the hard chambering issue. So, my next thought was could it be the chamber dimensions? I didn’t think so because if it was than the hard chambering would have been an issue from day one, but it was easy to find out. Fortunately, I had made a very nice CerroSafe chamber cast (Image 2) shortly after receiving the rifle. A practice I always follow with a firearm I plan on keeping. See my article on making chamber casts titled, Chamber Casts and Impact Impression.html.
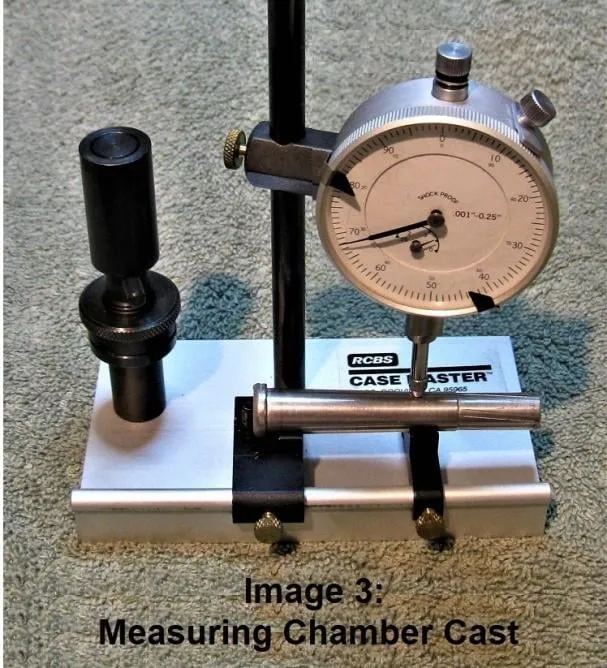
Using a RCBS CaseMaster Gauging Tool, the chamber cast was checked using a technique similar to the process reloader’s use to gauge bullet and/or case concentricity a.k.a. run-out (Image 3). The cast was carefully measured from the rim seat to slightly less than 1” into the bore. The result is an example of what I consider a perfect chamber in perfect alignment with the bore. It is flawlessly round and the runout from the rim seat to 1” into the bore was no more than 0.0005”. It’s the kind of chamber one would expect to see in a high-quality custom rifle. So the chamber was definitely not the problem. The next thing to check was the fireformed cases.
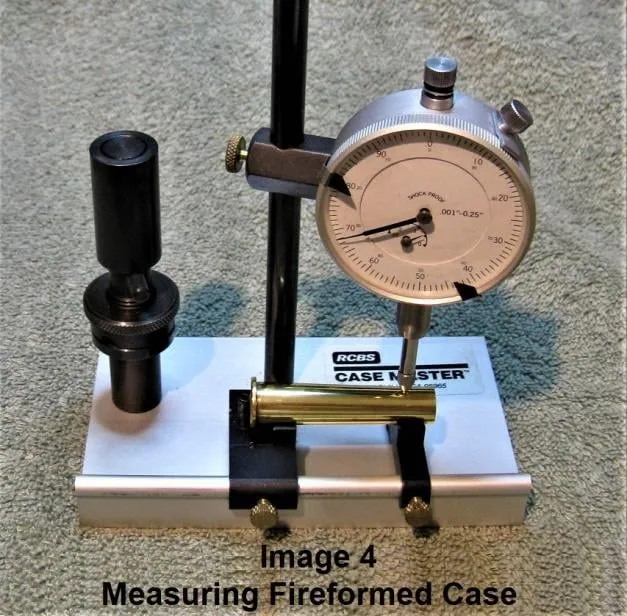
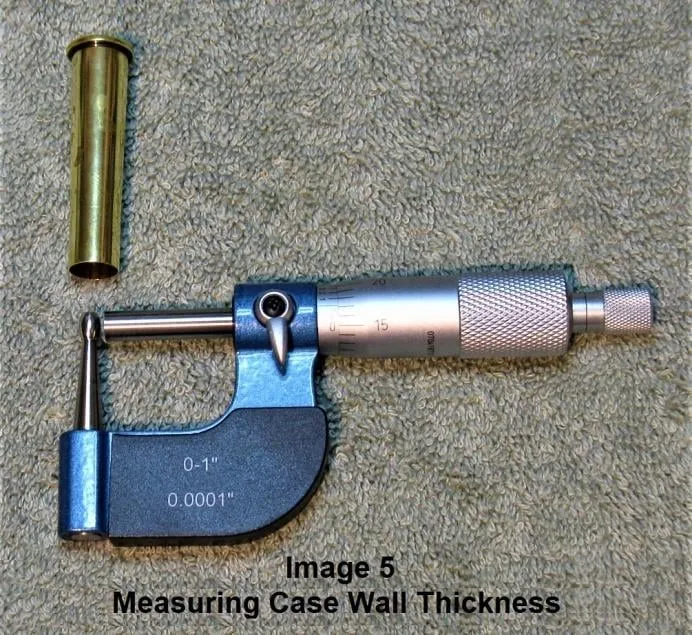
Several of the fireformed cases were checked for roundness using the RCBS gauge (Image 4). The case wall thickness was then measured with a tube micrometer (Image 5). All of the easy-to-chamber cases displayed a uniform roundness and uniform case wall thickness, not so with the hard-to-chamber cases which were out-of-round from 0.001” to 0.002”, depending on the case. And the wall thickness varied approximately 0.001” (0.011” to 0.012” thick) when measured with the tube micrometer. DYKEM machinist layout fluid was applied around the forward section of several cases to determine where they were contacting the chamber wall. By the way, A Sharpie brand or permanent marker pin should work as well.
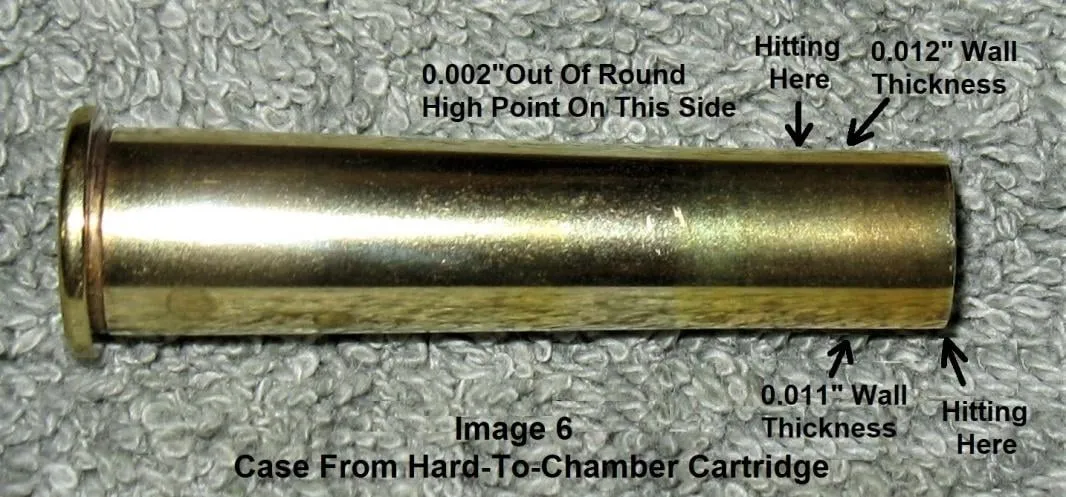
So how can the outside diameter of the case become out-of-round when fired in a perfect chamber? When fired the case diameter will expand to fully fill the chamber then contract (shrink) slightly (typically 0.001”) once the pressure drops. Due to the difference in case wall thickness the shrinkage is not uniform around the case, resulting in the raised area on one side. When a reloaded cartridge with the now out-of-round fireformed case is pressed into the chamber it contacts the chamber wall at two points as illustrated (Image 6). The high point on one side of the case pushes the mouth away from the chamber, forcing hard contact of the case mouth or lip on the opposite side. The bullet prevents the case neck and mouth from flexing sufficiently to allow easy entry of the cartridge.
Techniques to resolve the problem
Following are some suggestions on how to temporarily or permanently eliminate the problem:
Trash the reformed Remington cases and purchase Starline. In an earlier exercise I dissected Remington, Winchester and Starline brass and found that Starline case wall thickness varied less than the others. See my article titled, Comparison of Remington Winchester and Starline Brass.
Use Tim Smith-Lyon’s case stretching tool to swage (squeeze) and uniform the case necks, then trim the length if necessary. Be aware that, in addition to uniforming the case wall, the process will thin the walls slightly; resulting is possible lengthening of the case on the side with the thicker wall. See my article titled, Lengthening Short Brass to Fit Your BPCR Chamber.
Use one of the two processes discussed in my article titled, Removing Case Peened Edge. It will not fully remove the thicker wall but should reduce the thick area slightly to ease chambering. It may be necessary to repeat the process after each firing.
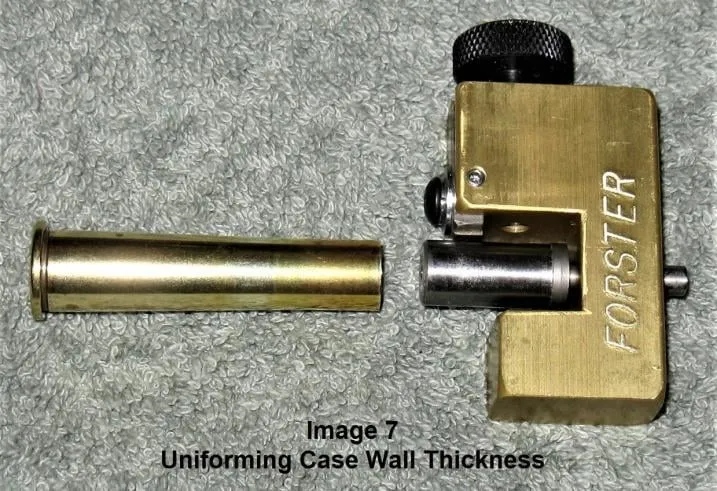
After neck resizing and expanding, use an outside neck turning tool (Image 7) to uniform the neck wall thickness. The resizing and expanding steps should create a neck with a constant inside diameter which is necessary when using the outside neck turning tool. The problem should be completely eliminated after removing only the minimum material necessary and subsequently fireforming the case.
So, there you have it. An example of the type of situation that one can encounter when loading custom ammo for a custom chamber, a chamber designed to maximize the accuracy potential of a custom target rifle.
Wishing you great shooting,
Wayne